Part 2 of this project involves a major step forward, sanding and texturing the terrain, but does not display dynamic changes in the photos.
The next step in the process was to sand the terrain. You may want to wear a dust mask, and/or arrange for favorable ventilation, as this step creates very fine dust.
I use an older orbital mini-sander marketed by Black & Decker in the 1980's. The sanding pad is roughly 2"x3" and lends itself very nicely to working with foam. The AC/DC converter pictured below is the original B&D product, while the sander is identical to the B&D version except for that it is labeled as Minicraft from the UK. These models have since been replaced by newer models, including a smaller transformer, and a slightly different sander that used velcro sanding pads. I prefer the older style sander, as the corners of the sanding pads sometimes gouge the foam, a less frequent problem with the older model that has sandpaper wrapped up and over the ends of the sanding pad. Proxxon also makes a similar sander that works well:
I like ths sander almost as much as the original B&D, except that the sanding head is a hard plastic, while the older B&D/Minicraft have a foam pad. Again, there is a tendancy to gouge the foam, so I bought a small piece of rubber from Grainger ( http://www.grainger.com/Grainger/Rubber-Sheet-1MUN8?Pid=search ), attached it with 3M Super 90 spray adhesive (from Lowes, Home Depot, etc), and the sander worked great.
The older B&D/Minicraft model is shown below.
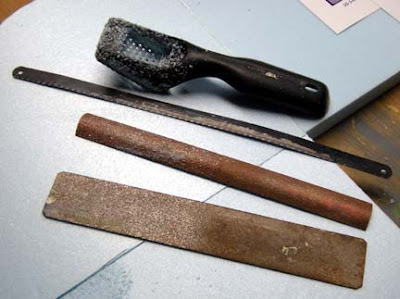
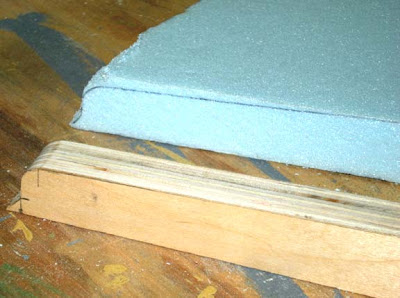
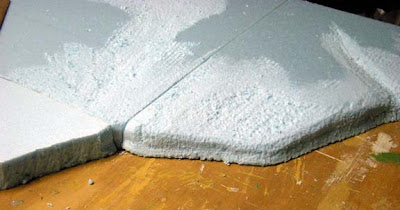
 Okay, enough about sanders. Shaping the foam with the surform tool, as mentioned in my previous blog entry, leaves the foam a little rough. I sand it down to a smoother texture, that leaves some divits and pits from the surform tool as shown in the photo below. The tile to the left shows the surform texture, those to the right have been sanded.

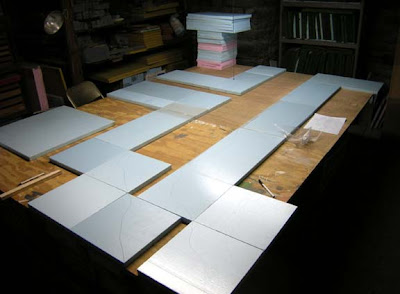
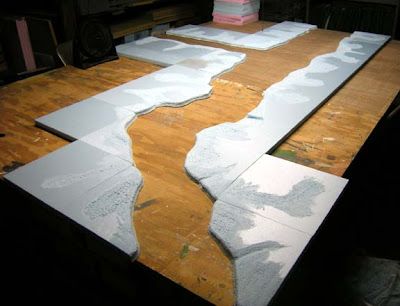
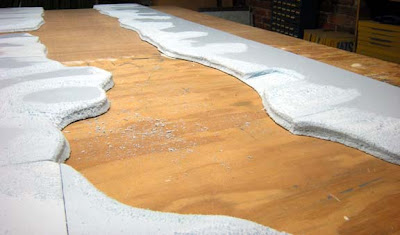
Once the foam has been sanded, brush off the foam and clean up the dust. Otherwise, the dust will drive you crazy and create clumps during the painting process. The sanded river terrain is shown below (I know, doesn't look any different than when we started).
 I spend some time searching for photos from various sources and comparing river bank textures in Vietnam. The most common texture that I found involved a cracked mud upper bank, with a less dried vertically striated lower portion of the bank.
 I had two options for creating the texture. The first was to 'draw" it on and in with a pen or embossing stylus, the second was to use a hotwire type engraver or "pen".
I often texture block and stone patterns into foam by simply drawing it onto and into the foam with a black (usually Papermate because the ink bleeds less than Bic) pen. This leaves an embossed pattern with a light coat of ink. The pen works well as the roller in the tip avoids tearing the foam. The problem is that the ink will bleed into most primers and paints. This can be controlled by sealing the ink with a coat of Testor's Dullcoat before and after priming, though sometimes an extra step of priming the surface with a coat of paint is also needed to cmpletely hide the ink. It is not really a big problem, but adds drying time. And since time is my biggest enemy these days, I opted not to use a pen.
In place a of a pen, you can use an embossing stylus. These are simpy pen-like devices that have a small steel ball (as small as .002") on the end, You simply press the desired pattern into the foam. they are readily available at craft and scrapbooking stores. They allow the greatest and finest control, but are slightly more prone to tear the foam, as the ball does not roll as in the pen. The process is slightly slower with the stylus than the pen, but gives a very nice result.
I opted for the second method, of burning or melting the pattern into the foam with a hot engraving tool. In my case this was an older model from Hotwire Foam Factory:
 This does not create as fine a texture as the pen or stylus, but is much faster, and does not tear the foam. It is particularly faster and easier on the irregular surface on the river bank. The pen and stylus would be much more tedious to use in this application, and prone to tearing the still slightly rough and irregularly contoured surface of the foam.
While the actual cracking pattern is much finer than what I produced, I think the modeled terrain gives a reasonable representation of the intended texture.
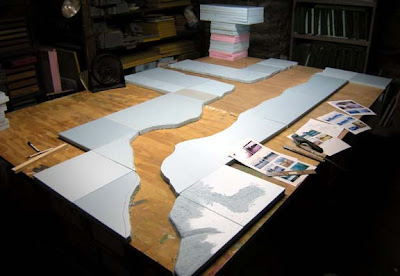
 Most of the work in part 2 of the construction process is now complete. The terrain appears as shown below, not really showing much sign of progress.
 The last step is to fill any overly deep pits in the foam with putty, before the finishing process. I like to use light-weight or one-step spackle. It dries a little slower than I like, but will sand evenly with the foam, and is less prone to breaking than conventional spackle. It also readily accepts the artist's acrylic paints that I use, something that regular spackle does not do. The paint will lay on the heavier spackle and dry fine, but will readily tear away from the spackle if scraped or scratched, it does not do this on the light weight spackle forming a much spronger bond.
 I simply apply the spackle with my finger (wearing a disposable glove) and wipe it with a damp cloth if needed to smooth it. No sanding is required. The spackle does need to be perfectly smooth with the surrounding foam, it will look fine being a little rough when painted.
 The work discussed in this entry took about three more hours, preparing twenty-five and a half square feet of terrain. The river terrain is now ready for part 3, priming, painting, and flocking. I should have part three up by next Sunday evening at the latest.
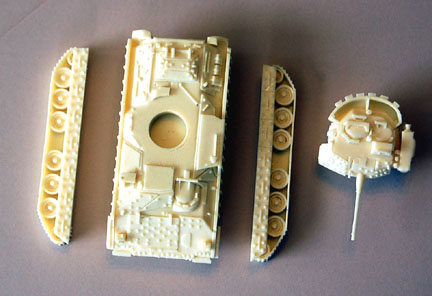
 And few pics of it primed, this one has a few blemishes, but came out pretty good overall. I've pretty much de-bugged the mold, but took a couple more tries than usual with the Bradley. I'm using a different method in the construction and molding of the turret, and the hull just has so many nubs, it took a couple of more tries than usual. The rebuild of the turret has lead to much better results with the castings.


 As you can see, it is still some ways from being done, but a late October/early November target shouldn't be pushing it.
 Here is a size comparison shot with one of my Humvees. It will ride about 10 percent higher when the track is added and spaced properly from the hull.
 Again next to my Humvee, it is a beast.
 And lastly, next to a QRF BMP-1, and an Old Glory T-55.


 And what is it about work benches? I cleaned this up a couple of weeks back, work on a project for an hour, and am left with an area about the size of my hand to work on the project.